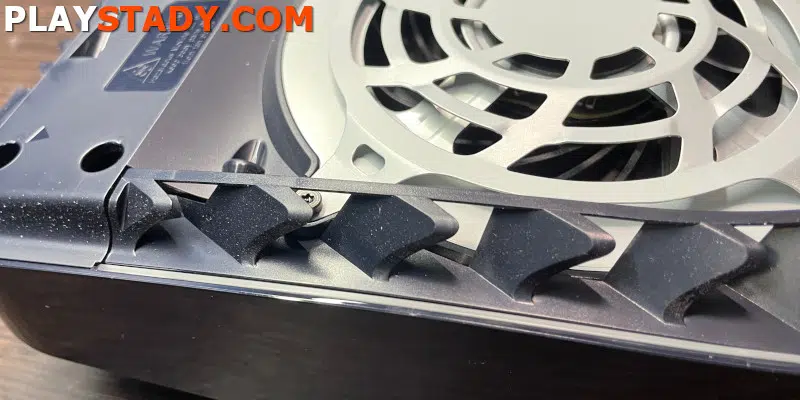
Although the PS5 is the most advanced Sony console today, the new technology can not cope with dust’s perennial problem. Small particles clog the louvers and sit on the cooler’s surface and the side panels. Thus increasing the noise and temperature inside the case, so how to completely clean PS5 from dust will remain relevant for a long time.
When Should I Do the Cleaning?
Every game console, sooner or later, needs to be cleaned. But how often depends on the location. For example, the dust protection PS5 allows you to put it vertically or horizontally. But, most IMPORTANT, avoid placing the body close to barriers at the air intake and exhaust, meaning on the edges and behind.
The manufacturer’s recommended maintenance period, i.e. dust and dirt removal, is 3 months.
For those who want to protect the console further, there are special dust covers for the PlayStation 5. They are made of breathable waterproof and dustproof fabric. It prevents scratches and chips and protects against dirt. But remember that when you play demanding projects for a long time, it is worth removing the protection to minimize the risk of overheating.
Tools for Cleaning
It is better to prepare all the necessary tools at once so that during the cleaning of PS5 from dust, not be distracted and not lose small parts. So, we will need:
- Screwdriver or Torx T8 bit in the shape of a star with a hole;
- Phillips screwdriver;
- Tweezers;
- Anti-static brush;
- Compressed air (optional);
- Screw organizer or magnetic screw mat.
Cleaning PlayStation 5 From Dust and Other Debris
The first thing to do is to disassemble the PS5. Here are instructions about removing the panels. First, however, below is a brief description of what to do:
- We place the console on a flat hard surface horizontally, facing the logo. Now put your hand on top of the panel, where the corners are closer, and smoothly lift the corner, sliding the board down. If you look under the corner, you will see the moving lock.
- After removing the cover, turn the console and look for the right corner again. This time it is right above the PS logo. Lift and slide it down. That’s it. The case is removed, and you can start cleaning the PlayStation 5 from the dirt.
Don’t be afraid to apply a little effort – the slide system is not yet developed and can go quite tight. If you can’t remove it, it’s worth checking the corner once again – it’s necessary to lift the top corner (PS logo and the same place on the other panel) because the clasp is located there.
Step One
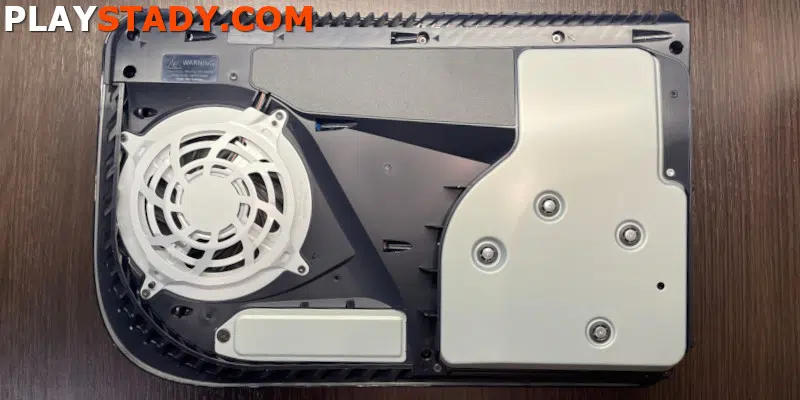
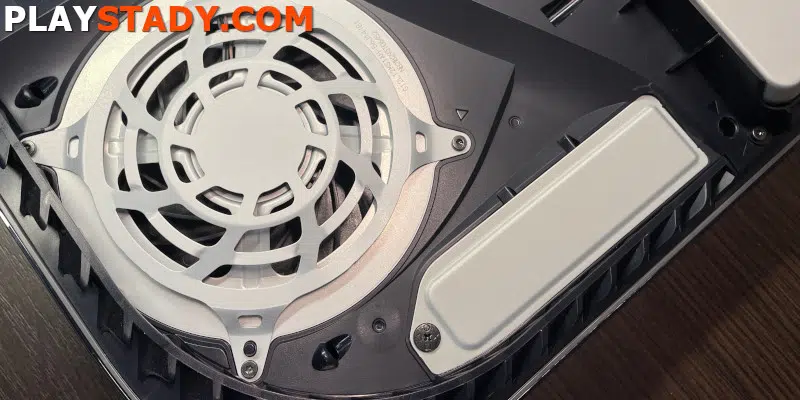
The first thing to do is to remove the dirt on the ventilation grilles and be sure to clean the inside of the removable cover. Next, turn the console upside down, remove the black side panel and peel off the film near the fan, under which the power wires are located.
Now for the crucial moment, the two bottom screws are 23.3mm long, the top left screw is 11.4mm long, and the top right screw is 31mm long. So again, it is recommended that you use an organizer for this to put them back in place correctly.
Afterward, it would help if you disconnected the fan power stub. You can try to do this with your hands or special spatulas. Most importantly, do not pull on the wires. After disconnecting the loop, you can take the fan out and clean it with a brush, being careful not to push the dust deeper into the grooves.
There are two more cables nearby – take them out carefully as well. Above there is a warranty seal. For further disassembly, it must be removed because there are retaining screws under it. If the PlayStation is still under warranty, proceed at your discretion.
Step Two
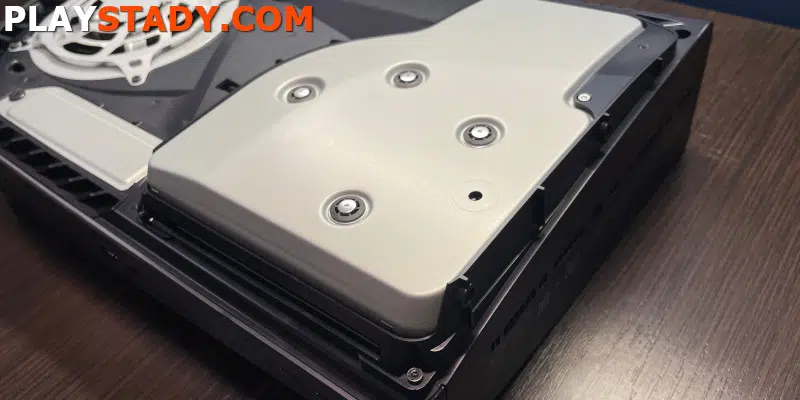
You have to remove the small white panel that hides the M2 SSD slot underneath. It is only held by one screw to the left of the cooler. Then take a screwdriver and unscrew 11 screws around the perimeter of the console. Note – it is a different length, so it is better to sort out and remember where they are.
After sorting out, the screws remove the cover, but not too sharply to not damage the stub cables. Now it is necessary to disconnect the DVD drive plume. Do not try to pull it by force – it is required to press the metal lock at the top and then carefully pull the tape out. After that, the drive is not held by anything else, and you can put it aside.
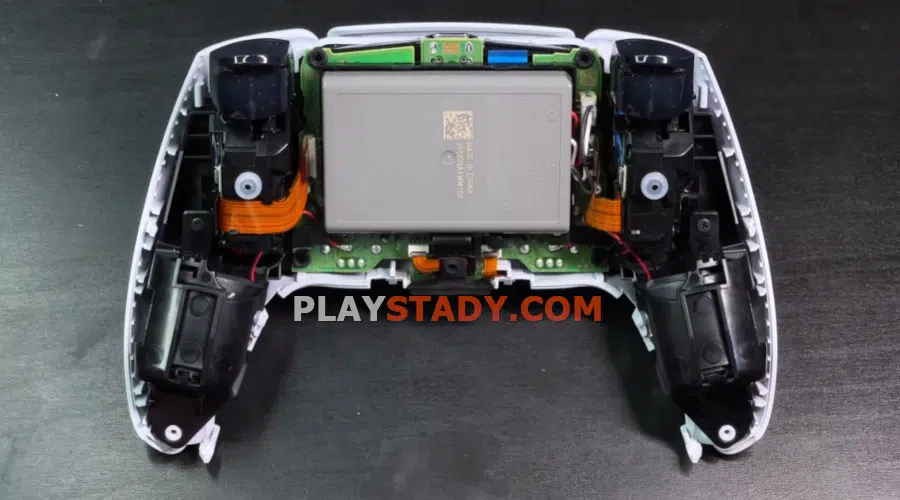
Now begins the most challenging part, the fragile parts of the boards are exposed. First, you need to remove the remaining cables – there are six of them, a group of five to the right of the heatsink recess and one in the lower-left corner. After that, we remove all the screws on the iron plate – you have to work hard. There are 42 of them. The cover itself comes off easily but pay special attention. Finally, there are round thermal gaskets on the backside, don’t touch them, and try to put everything back in its original position accurately.
Step Three
Under the cover is the board; proceed carefully only with an anti-static brush and a can of compressed air. Do not operate any wet or linty clothes.
The last motherboard cable is left. It is on the left side under the cooler and can also be opened by pressing the latch. You can safely flip the console over, hold it and remove the backside of the case getting to the heatsink. You can also remove the power supply by just lifting it. It also has holes for ventilation, don’t forget to blow them out with a can.
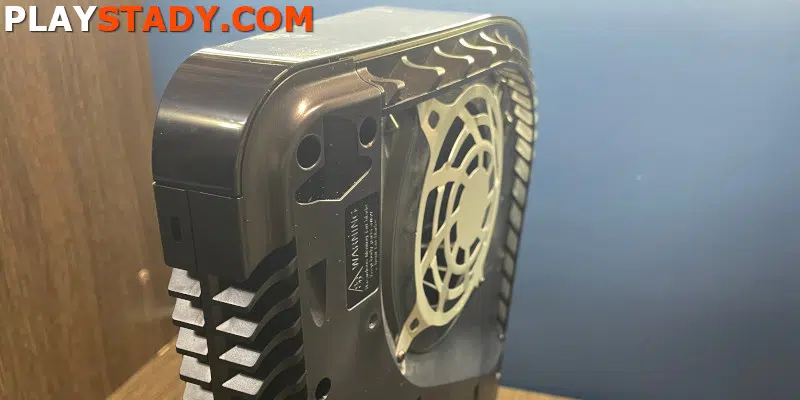
Here comes the finishing straight – using a brush and compressed air, remove the dust from the radiator. This is probably the most critical part, as this is where the most dust accumulates, which prevents standard cooling.
And the last point that all experts pay attention to – if your PS5 is less than 5 years old and there is no urgent need, do not change the heat sinks. Sony designers used a new material instead of standard thermal paste – liquid metal. Unfortunately, its lifespan is usually more than 5 years, so you should not get into a working system.
To protect the PS5 from dust, and to increase its trouble-free lifetime, we recommend surface cleaning under the panels at least once every few months.
Video Tutorial
That’s all. As you can see, disassembling the PS 5 to clean it is not difficult. The main thing is to have a tool, patience, and correctly sort out the screws. The process of reassembly is not very different from disassembly. The main thing is not to use physical force. All parts go in with a slight click and require no effort.


Egor Borisov
PS3 Slim, PS4 Pro, and PS5 owner. I disassemble, clean, and modify consoles and controllers. I share my experiences on this site and tell you about the new console generation.